
Dealing with a leaky faucet can be both frustrating and costly over time as those incessant drips contribute to water waste and increased utility bills. Fortunately, many common faucet issues can be remedied with a bit of DIY know-how. Whether you’re faced with a leaking kitchen mixer tap or a dripping bathroom faucet, this guide will offer comprehensive steps for various repair tasks.
Before diving into repairs, it’s essential to diagnose the problem accurately. Is it the handle, the neck, or the valve that’s causing the issue? Once identified, you can take targeted action to resolve the problem. Let’s explore some effective DIY methods to fix those pesky leaks.
Understanding the Anatomy of a Mixer Tap
Essential Components
A mixer tap, commonly found in modern kitchens and bathrooms, blends hot and cold water through a single spout. Its basic components include the spout, handles, cartridge or valves, and washers. Understanding these parts is crucial to diagnosing and fixing leaks.
Common Leak Points
Leaks in mixer taps often occur at the handle, spout, or base. The cartridge or valve might also be the culprit, particularly if the tap doesn’t shut off completely. Identifying the source of the leak is the first step in any repair process.
Tools and Materials Needed
Before embarking on your repair journey, gather the necessary tools and materials. You’ll typically need:
- Adjustable wrench
- Screwdriver (Phillips and flathead)
- Replacement washers or cartridges
- Plumber’s tape
- Allen keys
- A cloth or towel
Having these tools at hand will streamline the repair process and minimize disruptions. If you need help, our SJS experts are available 24/7 for your assistance:
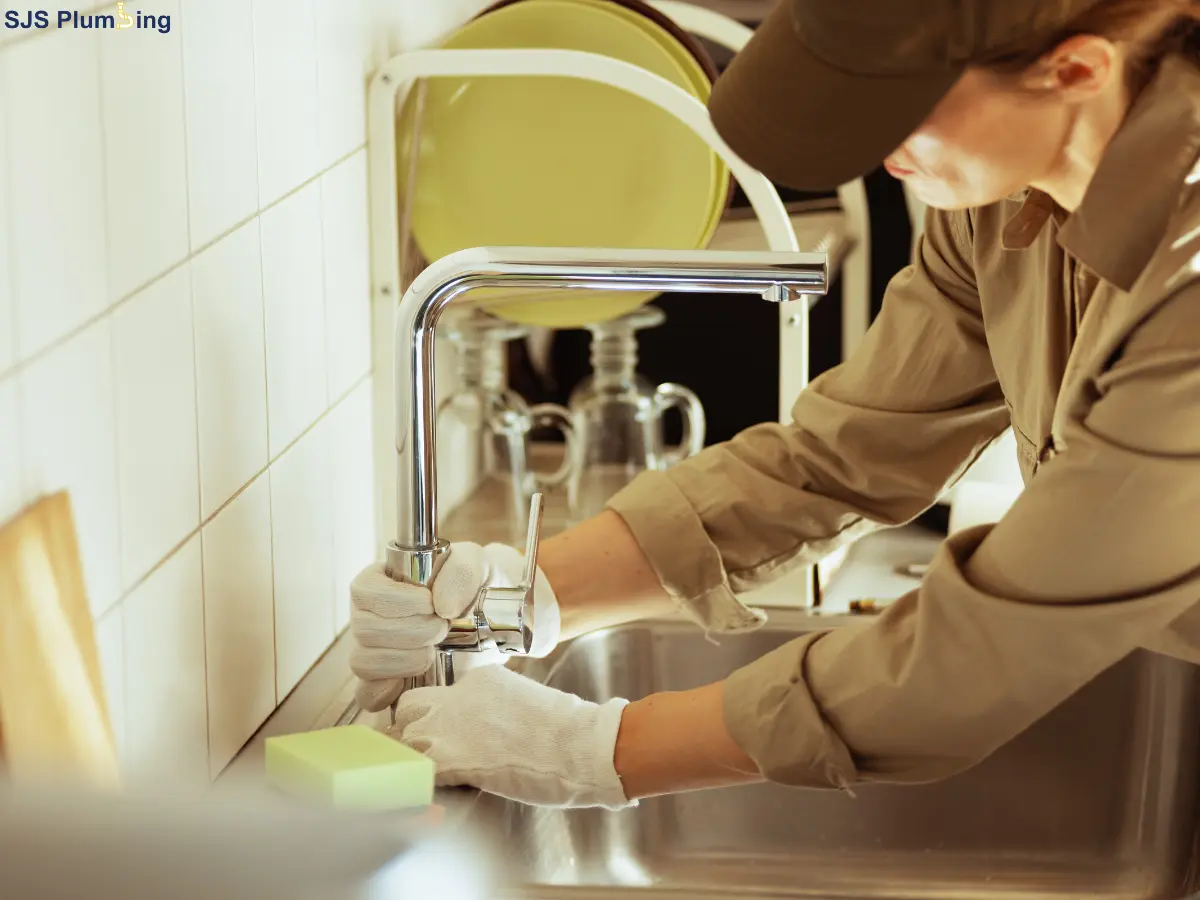
How to Fix a Dripping Mixer Tap
Step-by-Step Guide
- Turn Off the Water Supply: Locate the shut-off valves beneath the sink and turn them clockwise to stop water flow. This step is crucial to prevent any water damage during the repair process.
- Drain the Remaining Water: Open the tap fully to allow any residual water to drain out. This will also relieve any built-up pressure.
- Remove the Handle: Use an Allen key or screwdriver to remove the handle. Most handles have a small screw hidden beneath a decorative cap.
- Extract the Cartridge: Once the handle is off, use an adjustable wrench to unscrew the retaining nut and pull out the cartridge. Inspect it for wear and tear.
- Inspect and Replace the Cartridge or Washer: If the cartridge is damaged, replace it with a new one. If your tap uses washers, check for wear and replace them if necessary.
- Reassemble the Tap: After replacing the necessary components, reassemble the tap by reversing the removal steps.
- Turn On the Water Supply: Slowly turn the water supply back on and test the tap for leaks.
Fixing a Leaking Kitchen Tap from the Neck
If your kitchen tap is leaking from the neck, the O-rings might be worn out. Here’s how to fix it:
- Turn Off the Water Supply: As always, begin by shutting off the water supply and draining the tap.
- Disassemble the Spout: Remove the spout by loosening the retaining nut. This will expose the O-rings.
- Replace the O-rings: Remove the old O-rings and replace them with new ones. Apply a thin layer of plumber’s grease for a better seal.
- Reassemble and Test: Put the spout back in place, tighten the nut, and test the tap for leaks.
How to Change a Tap Washer on a Mixer Tap
Changing a tap washer can resolve many dripping issues. Here’s a concise guide:
- Turn Off Water Supply and Drain: This step remains consistent across all repairs to prevent any water flow during the process.
- Remove Tap Handle and Body: Use a screwdriver to remove the tap handle and then unscrew the tap body to access the washer.
- Replace the Washer: Remove the old washer and replace it with a new one of the same size.
- Reassemble and Test: Reassemble the tap, restore the water supply, and check for any leaks.
Addressing a Mixer Tap Leaking from the Handle
If water is leaking from the handle, the likely cause is an issue with the cartridge or seals:
- Turn Off Water Supply: Always start by shutting off the water supply.
- Remove Handle and Cartridge: Use an Allen key or screwdriver to remove the handle, then extract the cartridge.
- Inspect and Replace Seals: Check the seals for damage and replace if necessary. Consider replacing the entire cartridge if it’s worn out.
- Reassemble and Test: Reassemble the tap and test for leaks.
Preventative Measures for Future Leaks
Preventing leaks is often easier than repairing them. Here are some tips to maintain your taps:
- Regularly check for loose components and tighten as necessary.
- Replace washers and O-rings at the first sign of wear.
- Avoid using excessive force when turning taps on and off.
Conclusion
Fixing a leaky faucet is a manageable task with the right tools and a bit of patience. By identifying the source of the leak and following these step-by-step guides, you can save on repair costs and reduce water waste. Remember, regular maintenance is key to preventing future leaks, so keep an eye on your faucets and address any issues promptly. With these DIY tips, you’ll be well-equipped to handle any faucet troubles that come your way.